
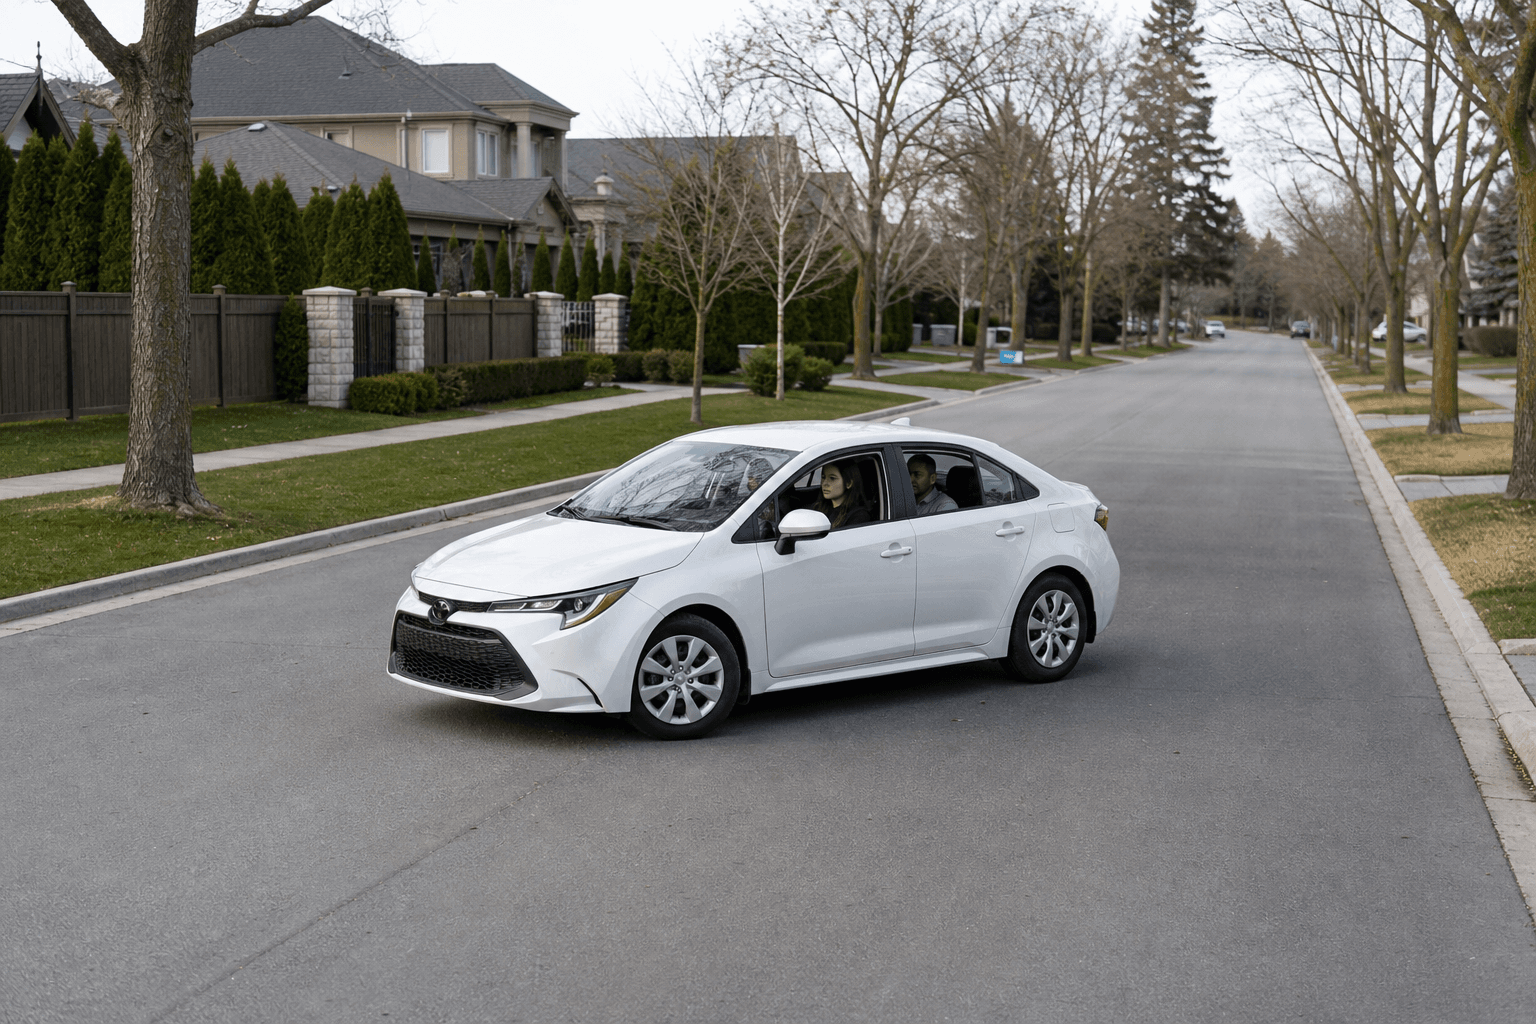
A three-point turn reverses direction on a narrow two-way road through three controlled movements: forward toward one side, reverse toward the other, then forward into the new direction. Practise only where you have clear visibility and enough space, and do not attempt one on a curve, near a railway crossing or hilltop, or near a bridge or tunnel that blocks your view.
What a three-point turn is and when it is appropriate
A three-point turn, also called a turnabout, changes your direction on a road that is too narrow for a single U-turn. You move forward across the road, reverse while steering the opposite way, then move forward into the new direction.
The manoeuvre is appropriate only when you can see far enough in every direction to complete it without forcing another road user to brake or change course. A straight, quiet residential road may be suitable. A bend, hilltop, blocked driveway area, busy street or restricted-view location is not.
Ontario’s Official MTO Driver’s Handbook specifically advises against making a three-point turn on a curve, on or near a railway crossing or hilltop, or near a bridge or tunnel that blocks your view. Review the official Ontario driver handbook guidance before practising on public roads.
Ontario safety rules before you start
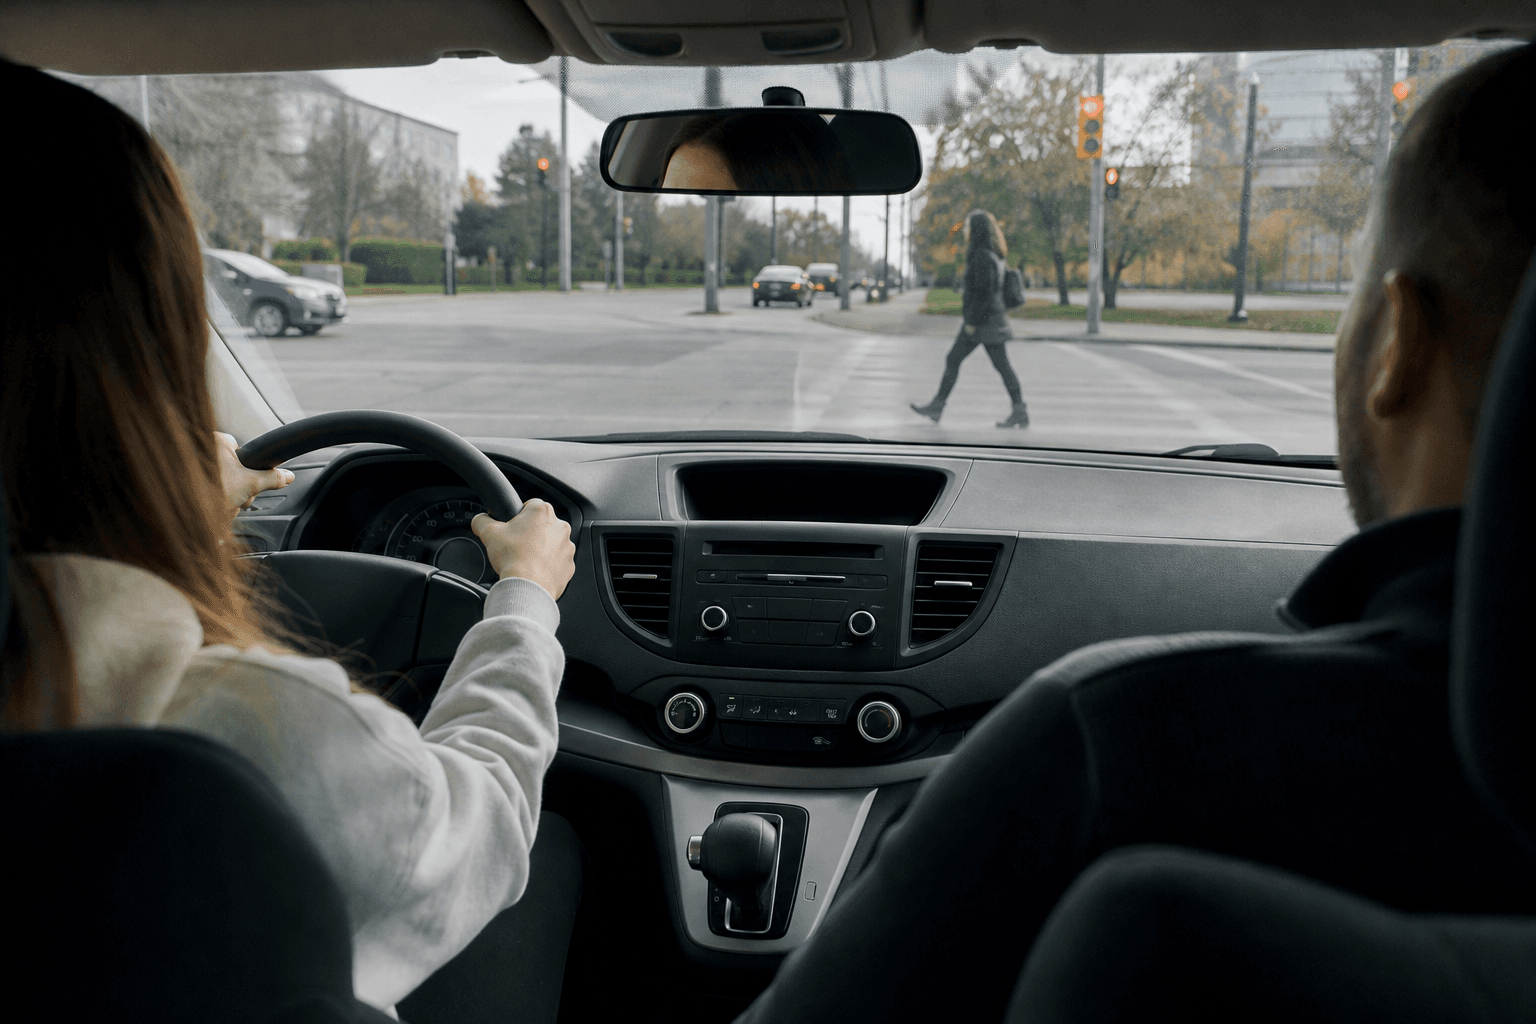
Before the first movement, position the vehicle close to the right side of the road and stop. Check the rear-view and side mirrors, look over your shoulders where appropriate, and scan the road, driveways, sidewalks and blind spots for vehicles, pedestrians and cyclists.
Signal your intention before moving, but do not treat a signal as permission to proceed. The road must remain clear, and you must continue checking while the vehicle is moving.
Do not begin if an approaching road user is close enough that your manoeuvre would make them slow, stop or steer around you. Wait in a safe position, let the road user pass, then reassess the full manoeuvre.
Choose the right turnabout for the road
The best turnabout is the one that gives you the most visibility and space with the least disruption to other road users. A three-point turn is not automatically the right choice simply because the road is narrow.
| Turnabout | When it may fit | What must be available | When to avoid it |
|---|---|---|---|
| Three-point turn | A narrow, straight two-way road where a U-turn is not practical. | Clear sightlines, low traffic and enough room to move without touching hazards. | Blocked visibility, approaching traffic, pedestrians nearby, a curve, hilltop, railway crossing, bridge or tunnel. |
| Two-point driveway turnabout | A suitable driveway provides a simpler way to change direction. | A driveway or private entrance that you may lawfully and safely use, with clear visibility and enough space. | The driveway is occupied, restricted, blocked or too narrow. |
| U-turn | The road is wide enough for one controlled turn without mounting a curb. | Clear visibility, adequate width and enough time to complete the turn without affecting traffic. | Traffic is approaching, visibility is limited, the road is divided or markings prohibit the movement. |
If you can safely turn around in one movement with full visibility, a U-turn may be more suitable. If a safe driveway is available and its use is permitted, a two-point turnabout may reduce the time spent on the roadway. If neither option fits, a three-point turn can work on a straight, visible road with little traffic.
The three-movement sequence
A reliable three-point turn depends on controlled speed, deliberate observation and accurate stopping points. The sequence below assumes you are changing direction by turning left across the road.
- Set up on the right and stop. Move close to the right side without scraping the curb or parked vehicles. Stop fully and check ahead, behind and to both sides.
- Move forward and steer left. Signal as appropriate, check again, then move forward slowly while steering left. Stop before the opposite curb, ditch, parked vehicle or other obstruction.
- Reverse and steer right. Stop completely. Check behind and across both sides before reversing. Reverse slowly while steering right, then stop when the vehicle is positioned to leave forward.
- Check again and move forward. Select forward gear, complete another observation check, steer left and move into the new direction. Straighten the wheels once aligned with the lane.
Each movement can include a controlled stop. A safe adjustment is better than rushing to preserve a set number of actions. Ontario’s beginner driver education curriculum standards identify three-point turns, yielding, intersections, lane changes, lane tracking and backing-up as practical training topics.
A complete G2 preparation plan should include three-point turn skills alongside parking, lane changes, stops, signs and residential driving.
What to do when the routine stops being suitable
Use a stop-and-reset method whenever the situation changes: brake smoothly, remain stopped in a safe position, check all around the vehicle, reassess the available space and decide whether to continue, wait or abandon the manoeuvre.
If a vehicle approaches
Stop before the approaching vehicle becomes affected by your turn. Let it pass, then complete a new observation check. If traffic continues to build, continue forward and find a safer place.
If a pedestrian or cyclist appears
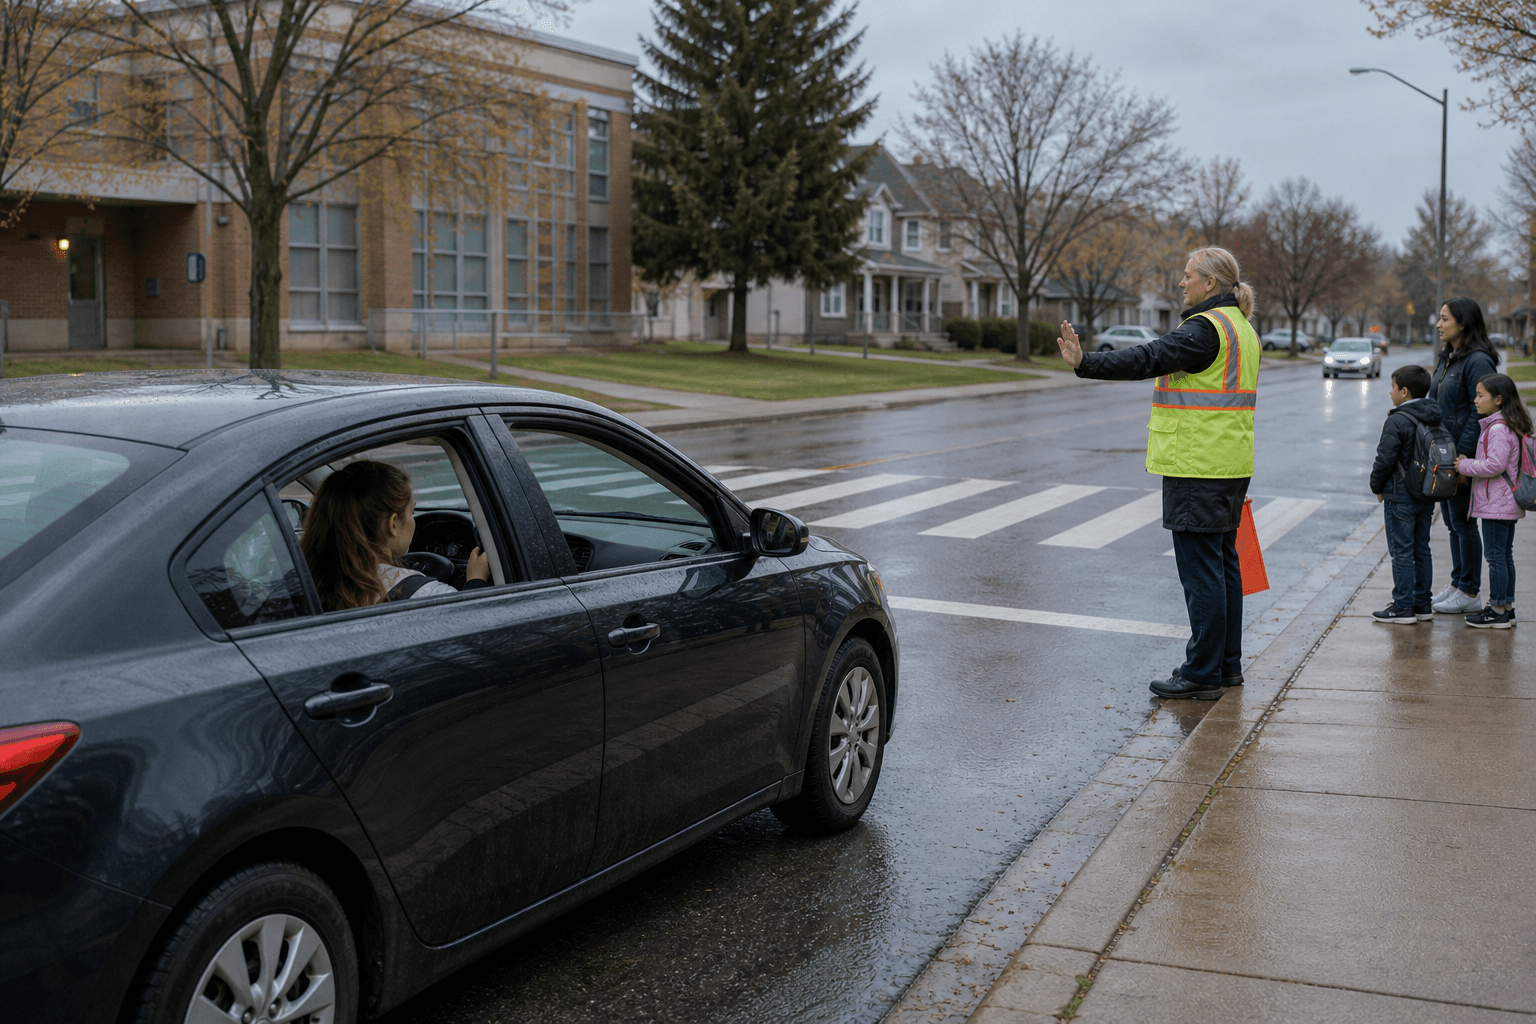
Stop and give the person space. Wait until the path is clear and you can move without making the person alter their course.
If a parked vehicle blocks your path
Do not squeeze past it with little clearance. Stop, reassess and abandon the turn if the obstruction leaves no reasonable margin.
If the street is too narrow
Stop rather than mounting the curb or backing into a blind area. If a safe driveway is available and its use is permitted, a two-point turnabout may be preferable. Otherwise, continue to a wider location.
If you run out of space
Do not add speed or make a sharp correction simply to finish in one attempt. Use a safe adjustment if there is room, or abandon the manoeuvre.
Common errors and precise corrections
- Moving without a fresh check: Stop fully before each change from forward to reverse or reverse to forward.
- Turning too early or quickly: Position the vehicle first and use a controlled crawl.
- Stopping too far from the curb: Use the available road width while leaving safe clearance from hazards.
- Reversing too far: Stop when the vehicle is aligned to leave forward.
- Forgetting the signal: Signal where it communicates your intended movement, then continue observing.
- Watching only the front: Keep checking behind and around the vehicle during reversing.
- Rushing because another driver is waiting: Wait or abandon the manoeuvre if conditions are unsuitable.
- Forcing the wrong turnabout: Choose a safer alternative or continue to a better location.
A practical practice plan for G2 learners
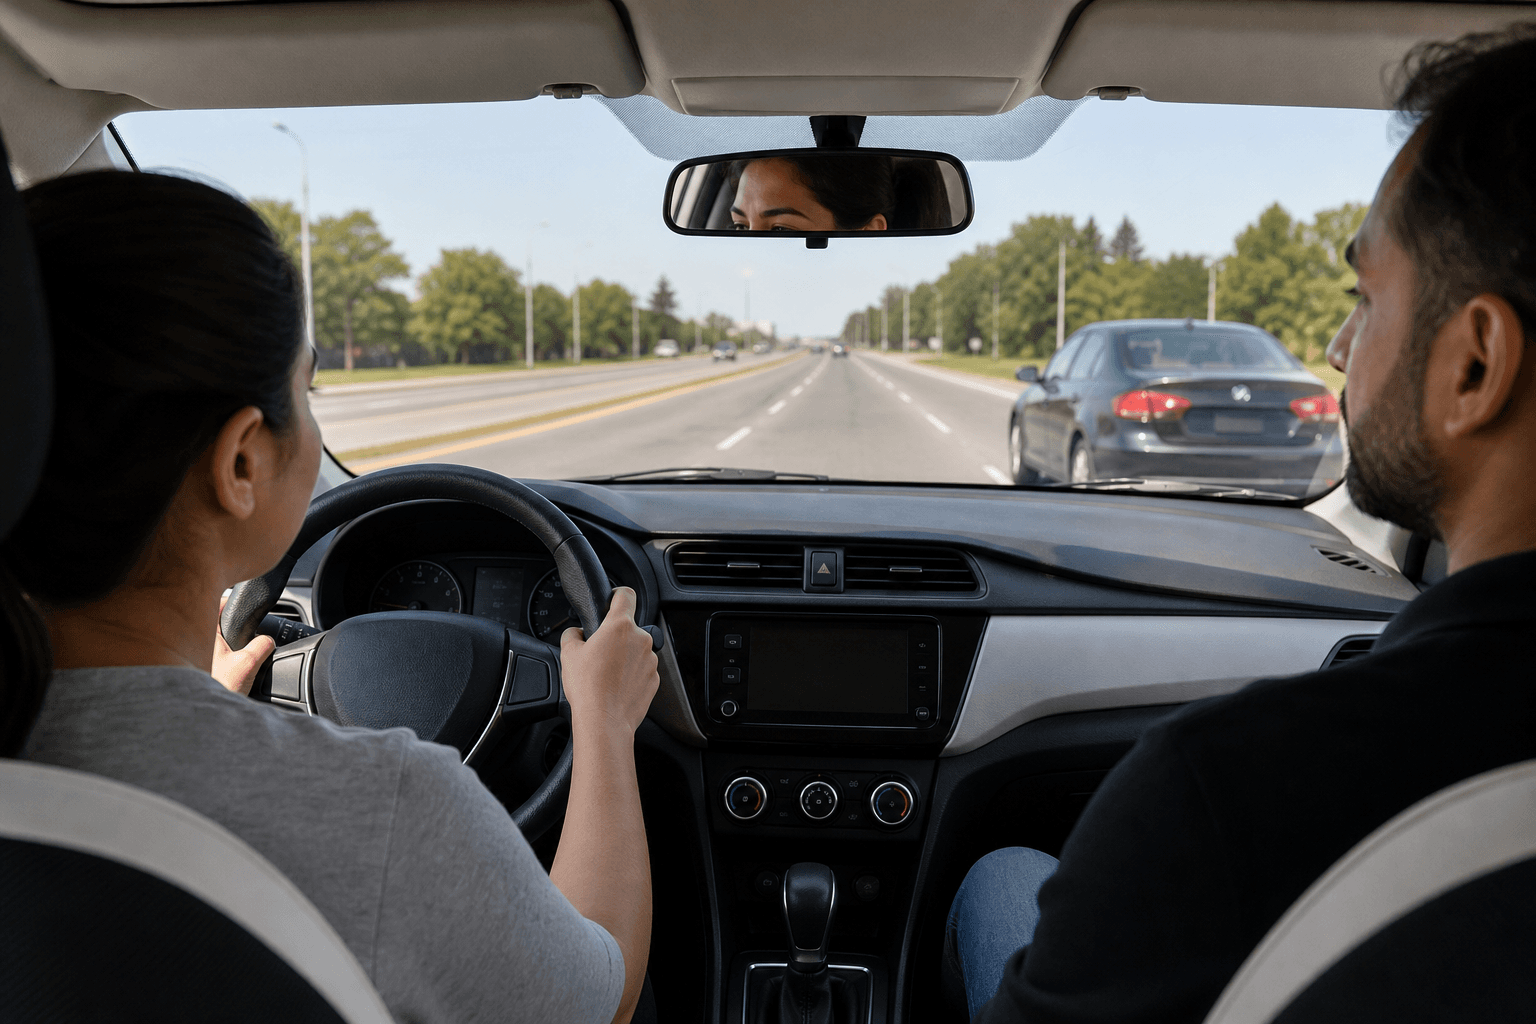
Practise in a lawful, low-traffic area with a qualified supervising driver or instructor. Choose a straight road with clear sightlines and no nearby railway crossing, hilltop, bridge, tunnel, sharp curve or heavy pedestrian activity.
Stage 1: Build the control pattern
Practise stopping accurately, selecting forward and reverse gears, steering smoothly at low speed and straightening the wheels.
Stage 2: Complete the full manoeuvre
Use a straight residential road with plenty of space. Stop before each gear change and note whether the vehicle finishes clear of the curb and obstructions.
Stage 3: Add controlled variation
Practise with realistic differences such as a parked vehicle farther along the road, a narrower suitable street and moderate traffic that remains well away from the manoeuvre.
Stage 4: Evaluate it within broader preparation
Include the turnabout in a longer drive covering stops, turns, observations, lane changes, parking, signs and residential driving. A staged G2 preparation plan can show whether the skill remains controlled in changing conditions.
Compact three-point-turn checklist
- Is the road straight and visible in both directions?
- Is traffic light enough to complete the manoeuvre safely?
- Have you checked mirrors, blind spots, the front path and the rear path?
- Have you signalled without treating the signal as clearance?
- Are you moving slowly enough to stop before an obstruction?
- Did you stop and check again before each change in direction?
- Will the final position let you continue in the correct direction?
- If conditions changed, did you stop, reset and choose safety?
How the three-point turn relates to Ontario’s G2 road test
A three-point turn is a recognised practical training topic for Ontario learners and is commonly included in G2 preparation. Do not assume every appointment, test centre or examiner will use the manoeuvre in exactly the same way.
Ontario’s Official MTO Driver’s Handbook is the current reference for learning to drive and preparing for the Level Two road test. Use it with current DriveTest information to verify requirements before your appointment. Strong preparation also covers vehicle control, observations, turns, stops, signs, lane changes, parking and residential driving.
Look for instruction that covers the full set of G2 road test skills, gives active feedback and explains how practice will be assessed.
When focused three-point turn lessons are worthwhile
Focused instruction is worthwhile when you repeatedly lose steering control, miss observation checks, finish poorly positioned or freeze when another road user appears. It can also help identify whether the problem is the turn itself or a wider issue with speed, space management or decision-making.
A useful assessment should observe your setup, mirror and blind-spot checks, steering timing, stopping points, curb distance, signalling and response to changing traffic. The instructor should explain one correction, let you repeat it, then connect the result to broader G2 preparation.
Khurana Driving School provides G2 road test training, evening and weekend lessons and a defensive-driving approach. Based at 9 Studley St in Mississauga, the school serves Mississauga, Brampton and the GTA.
Questions to ask before booking manoeuvre practice
- Will the lesson begin with an assessment of my current routine?
- How much involves active coaching and repeated practice?
- Where will we practise, and how will visibility and traffic remain suitable?
- Will you explain what to do if another road user enters the area?
- Will the lesson cover wider G2 skills?
- What are the lesson length, price and booking-change terms?
- How will you tell me whether I need focused practice or a broader mock test?
Three-point-turn questions Ontario learners often ask
Is a three-point turn always included in Ontario’s G2 road test?
No. It is an important G2 training topic, but verify current details through Ontario and DriveTest before test day.
How close should the vehicle finish to the curb?
Finish close enough to be properly positioned for the next forward movement without touching the curb, mounting it or striking an obstruction. Controlled alignment matters more than forcing a fixed measurement.
What should I do if another vehicle approaches?
Stop in a safe position and let the vehicle pass without making it brake or steer around you. Recheck the road, and abandon the manoeuvre if conditions are no longer suitable.
Can I use a driveway instead?
Yes, a suitable driveway can provide a two-point turnabout if entering it is lawful, safe and does not interfere with people or vehicles.
How can an instructor assess my three-point turn?
An instructor can watch your setup, observation routine, steering timing, speed, stopping points, curb clearance, signalling and response to changing traffic.
Where should I practise safely in Ontario?
Practise on a straight, low-traffic road with clear sightlines, adequate space and no nearby hazards that block your view. If you need structured practice, ask Khurana Driving School about in-car G2 preparation and request a lesson focused on the part of the manoeuvre you find difficult.